Battle For
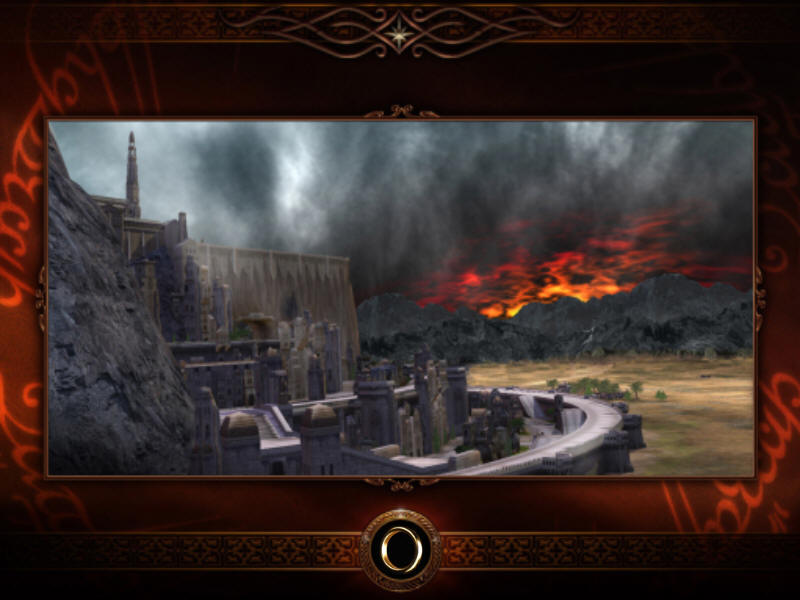
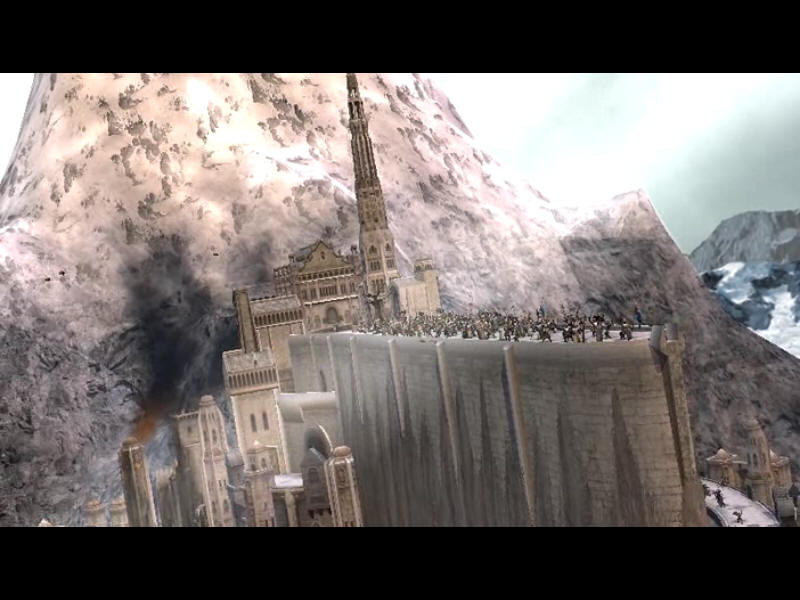
Middle-Earth Good Campaign Map 18, Act 19 - Minas Tirith (Battle of The Pelennor
Fields)
You have less than 8 minutes to build up defences before the attacks start & over 24 minutes to hang on before the Rohirrim arrive. You can build structures on both levels with a more daring preference to build troop structures on the lower level to enable swifter deployment with resource structures on the higher level. Having done this map a few time this way around I know it's easier to rebuild farms than troop structures as building upgrades are not so important on farms. Send everyone on the map back behind the walls & close the gate. No point in worrying about the farms outside the walls as they will be impossible to defend once the attack starts. best make the most of the resources for now & build.
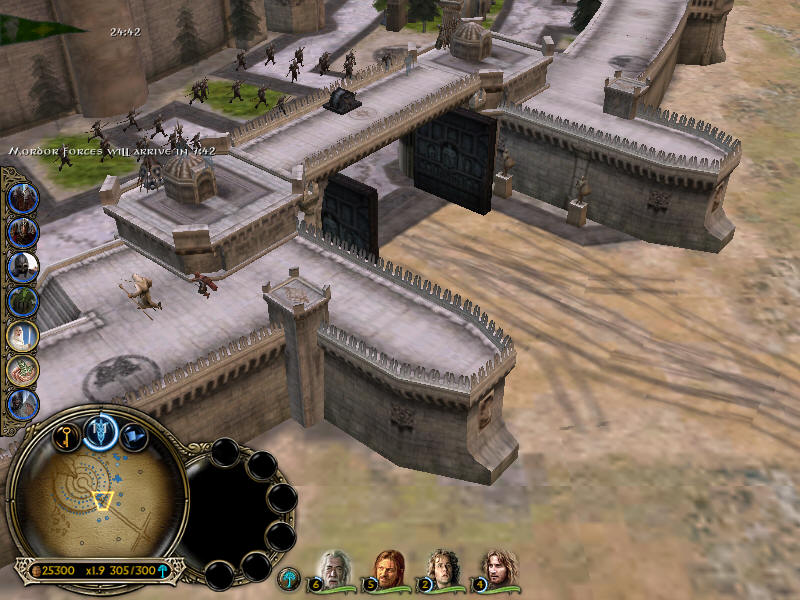
With a few seconds to go before the first assault I had built & upgraded the blacksmith & could upgrade all the troops behind the walls. I decided to build 2 stables & archery ranges to the north of the lower level, a well either side of the main gate, workshop to hopefully enable upgrades to fireballs later, a blacksmith to the far left & all other plots with farms to keep the resources flowing. Built Postern Gate at far south & north battlement placements in the main wall, build trebuchets in all others.
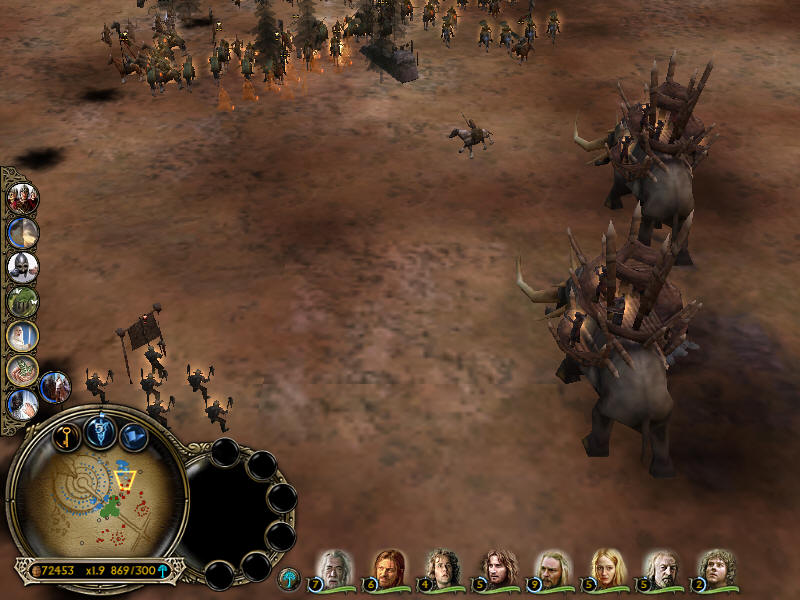
I sent the Rohirrim out for a foray & destroyed a load of Orcs, Fire Trebuchets & a few structures before they were wiped out by an armoured Troll. A few assaults that reach the walls are taken down by well placed archers. Counting down to Rohirrim in 13 minutes. Take a look at the Palantir view to see what is on the way.
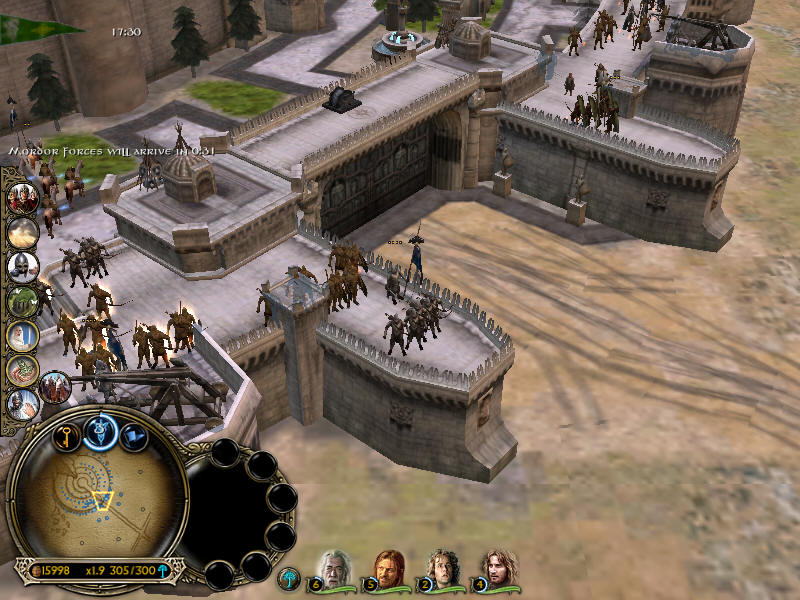
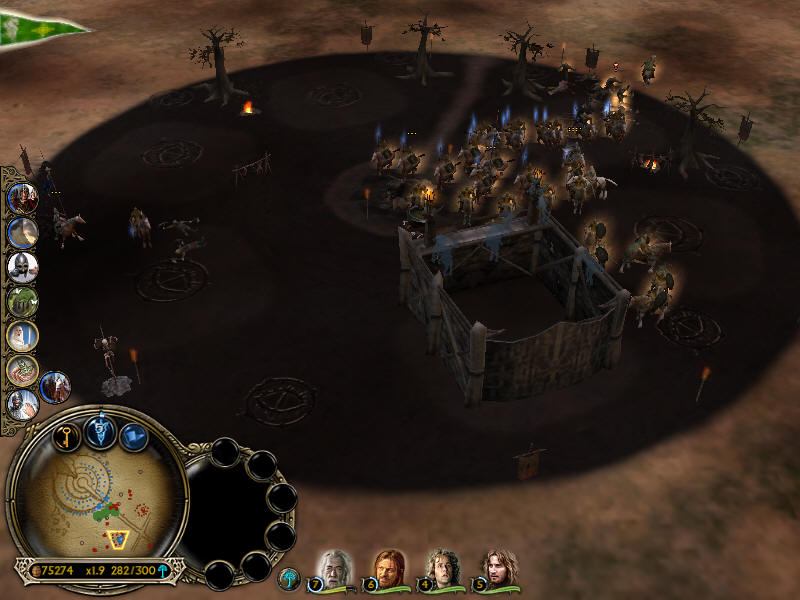
Watch out for the Nazgul that will clear out your horses quicker than you can blink. You need fire archers now though so when the Nazgul are in range give them all you have & train as many archers as you can with the spare command points. Build a few trebuchets when possible to help get the fireballs. Use Gandalf & fire archers to kill all the Nazgul off but keep track on the main gate for Troll & trebuchets attacks. Keep the door intact as you can't rebuild or repair it until the Rohan Peasants arrive withy the Rohirrim later.
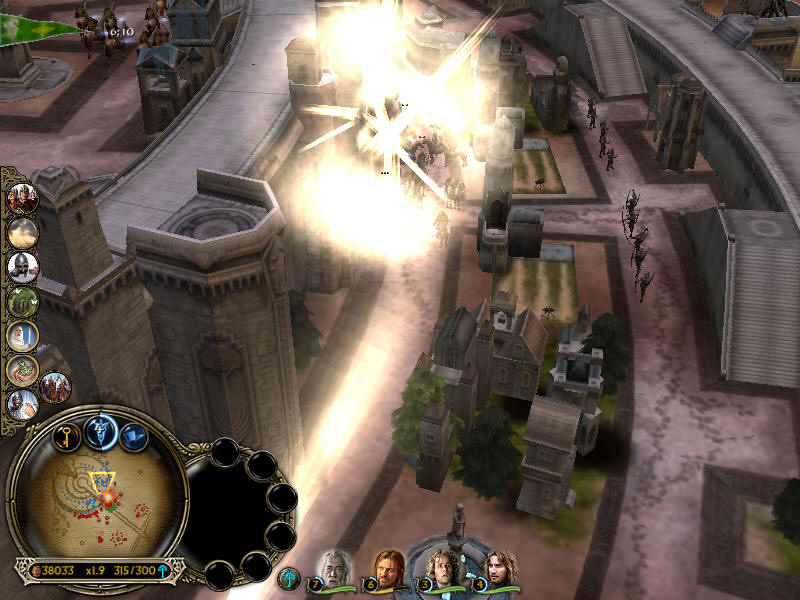
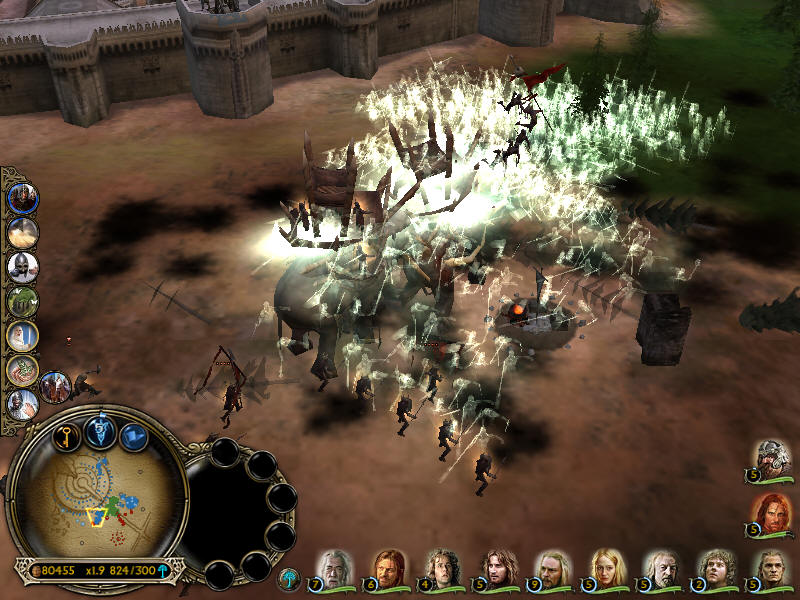
At around 3:30 minutes to Rohirrim the Grond chant start. This signifies that if your door are going to broken then now could be the time. By the time I could do much damage Grond was too close so I opened the gates to protect them & sent everyone to attack including the summoned Elves & Rohirrim.
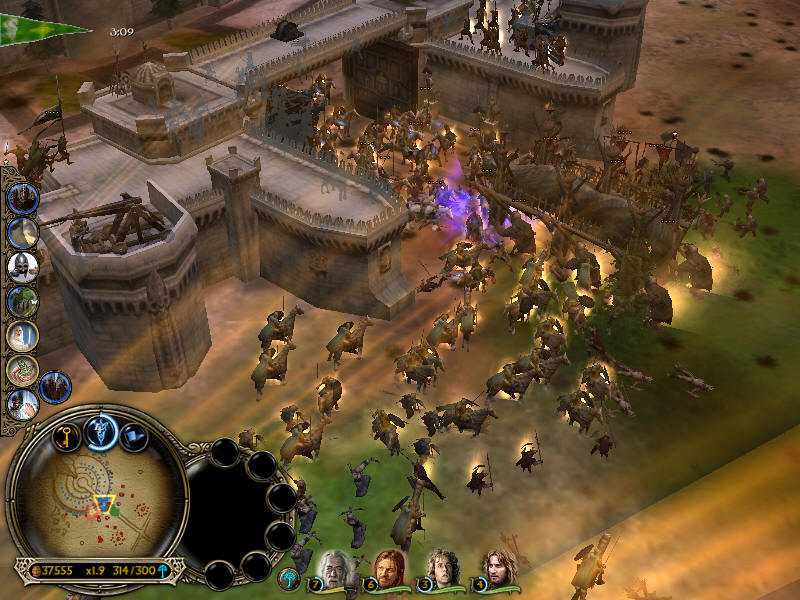
I managed to fend off all comers without losing the gate although most of my active trebuchets were taken out but Nazgul. They acted as good bait whilst Gandalf & archers too them out. I didn't call Theoden just yet though as I needed to release another battalion of archers to allow fire arrows to complete upgrading. I must have queued too many archers earlier in a panic. Problem is now that I need to lose loads of command points before anything new will train.
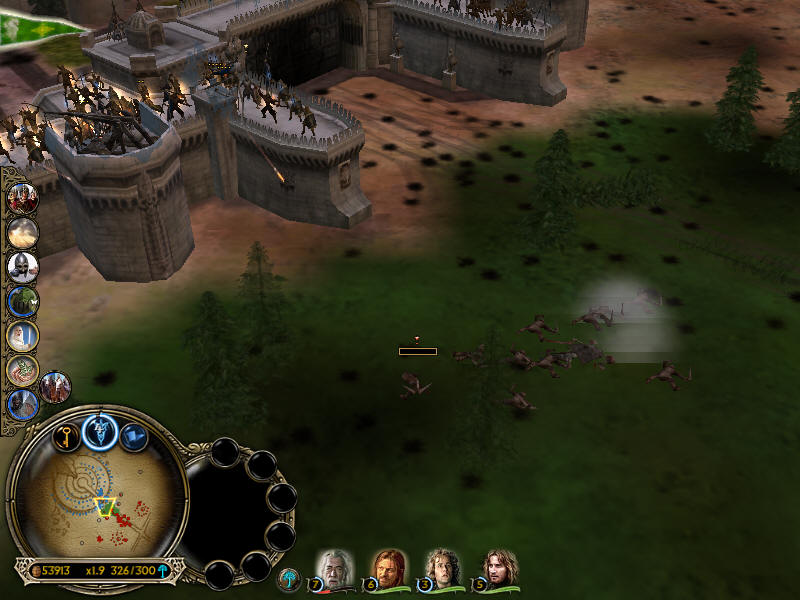
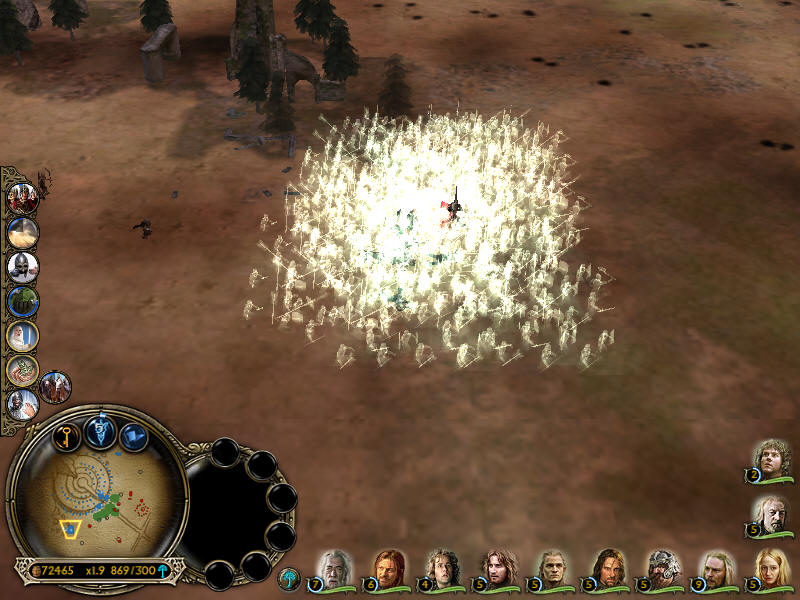
Keep defending the walls against all attacks that spawn from the south east of the map & make occasional Gandalf & Horse attacks on the enemy camps. Use cloud break power when attacks are at their most frenzied & spread as much Elven wood outside the gates & base of walls as you can.

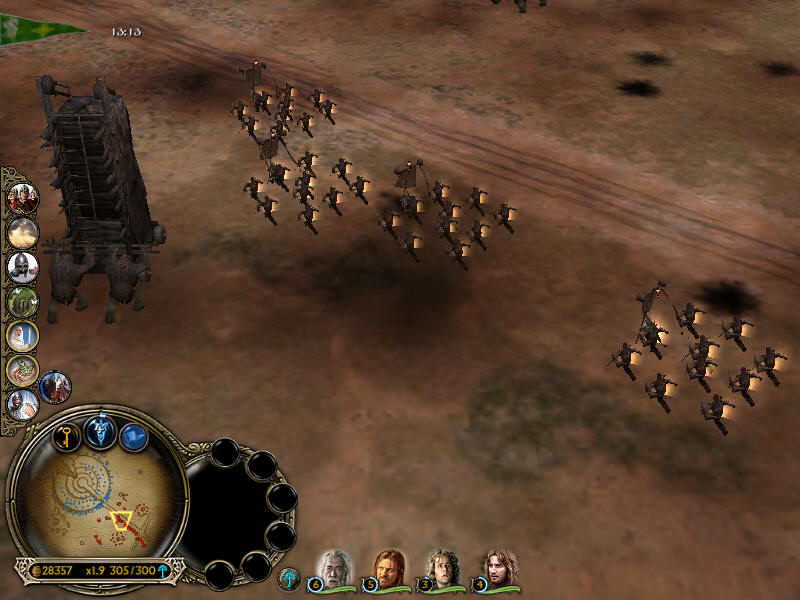
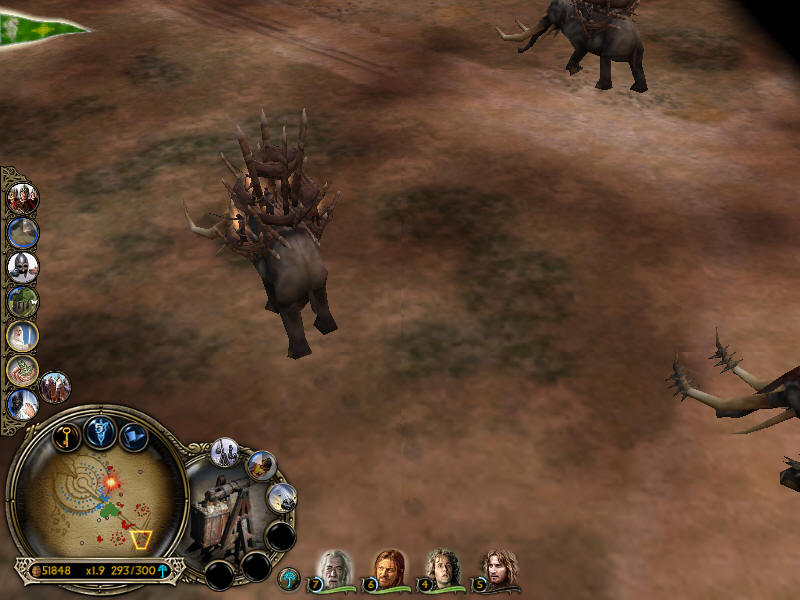
As soon as the workshop is upgraded buy firestone & apply to all trebuchets. Suddenly the Haradrim & Mumakil arrive.
I surprised myself my managing to destroy the southern enemy camp with Gandalf & my remaining cavalry but did lose just enough command points to release another archer & hopefully the fire arrow upgrade very much needed on the main walls.
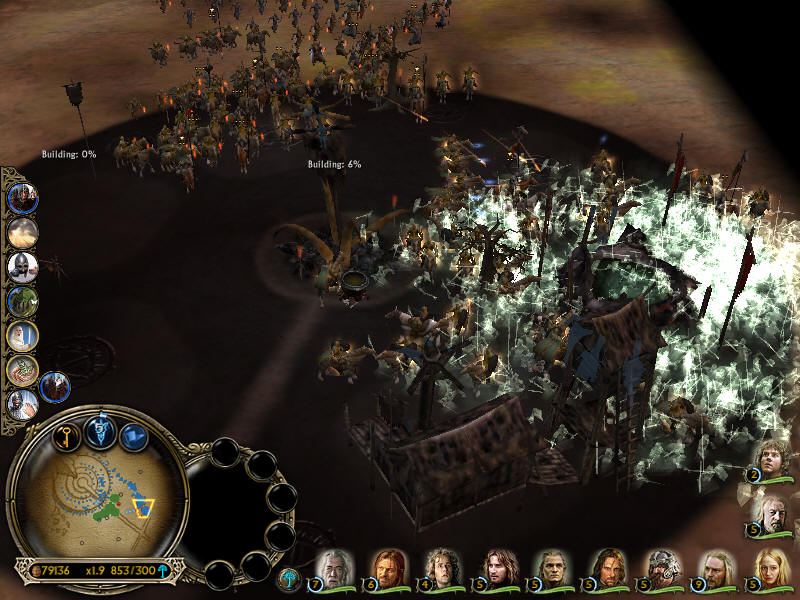
At last Aragorn & the Army of The Dead turn up to the far west of the map from the harbour. I decided to finally call the Rohirrim as well & go for the kill on the other enemy camps.

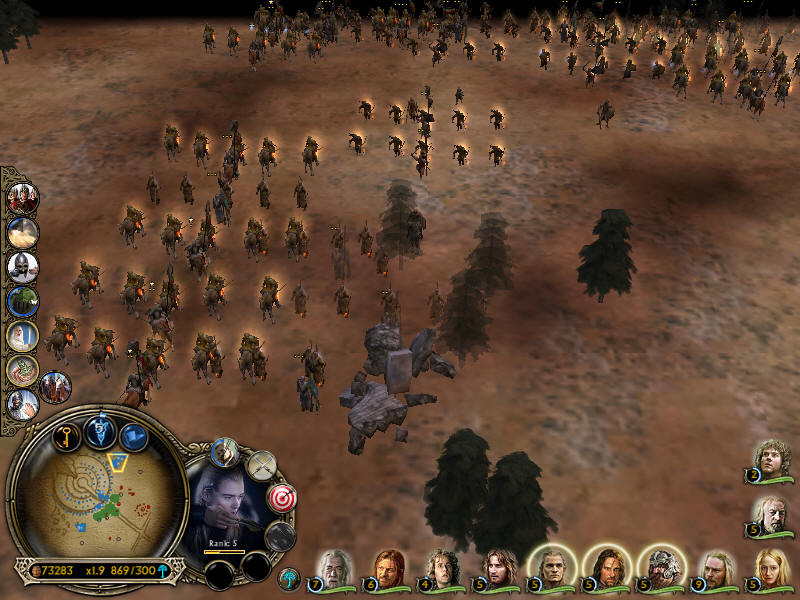
I sent all troops from the north of the map to rendezvous with the Rohirrim & Dead army at the main enemy camp & take out Mumakil on the way.
Suddenly it was over. After doing this battle with a struggle on both easy & medium I was surprised how I fared this time. I kept the door intact, had almost treble my command point limit at one time & didn't lose a single structure. About the only troops I lost were horses that I sacrificed to train more archers & upgrade.
| Battle Statistics | ||||||
| Units Trained | Buildings Constructed | Resources Collected | Power Points Earned | Enemy Units Destroyed | Enemy Buildings Destroyed | Time Bonus |
| 397 x 1 | 27 x 10 | 263,699 | 2 x 1,000 | 3,298 x 2 | 20 x 10 | 450 |
| Total Score = 310,112 - Total Victory | ||||||
| Troop ratings after battle | |||||
| Hero Name | First Trained | Unit Current Level | Missions Completed | Mission Enemies Vanquished | Campaign Enemies Vanquished |
| Legolas | Moria | 6 | 5 | 295 | 890 |
| Gandalf | Moria | 8 | 6 | 169 | 506 |
| Eomer | Westfold | 10 | 9 | 48 | 282 |
| Gimli | Moria | 5 | 5 | 36 | 189 |
| Faramir | Northern Ithilien | 5 | 5 | 36 | 141 |
| Aragorn | Moria | 6 | 5 | 13 | 134 |
| Boromir | Moria | 6 | 5 | 10 | 78 |
| Th�oden | Helm's Deep | 6 | 2 | 48 | 53 |
| Eowyn | Helm's Deep | 6 | 2 | 37 | 50 |
| Pippin | Moria | 4 | 5 | 13 | 20 |
| Merry | Moria | 3 | 5 | 2 | 10 |
| Rohirrim Archer Battalion | West Emnet | 7 | 7 | 10 | 460 |
| Rohirrim Archer Battalion | West Emnet | 8 | 7 | 10 | 368 |
| Rohirrim Archer Battalion | West Emnet | 6 | 7 | 2 | 348 |
| Soldier - Archer Battalion | Northern Ithilien | 6 | 5 | 164 | 332 |
| Rohirrim Battalion | West Emnet | 7 | 7 | 2 | 331 |
| Rohirrim Archer Battalion | West Emnet | 7 | 7 | 0 | 293 |
| Archer Battalion | Northern Ithilien | 5 | 5 | 155 | 256 |
| Soldier - Archer Battalion | Northern Ithilien | 6 | 5 | 131 | 247 |
| Archer Battalion | Northern Ithilien | 4 | 5 | 154 | 182 |
| Ranger Battalion | Northern Ithilien | 4 | 5 | 110 | 178 |
| Elven Warrior Battalion | Helm's Deep | 3 | 2 | 3 | 157 |
| Elven Warrior Battalion | Helm's Deep | 3 | 2 | 2 | 142 |
| Elven Warrior Battalion | Helm's Deep | 3 | 2 | 13 | 135 |
| Elven Warrior Battalion | Helm's Deep | 3 | 2 | 16 | 130 |
| Elven Warrior Battalion | Helm's Deep | 2 | 2 | 16 | 121 |
| Knight Battalion | Emyn Arnen | 3 | 3 | 31 | 112 |
| Rohirrim Archer Battalion | Fangorn | 4 | 4 | 2 | 106 |
| Knight Battalion | Crossroads | 4 | 4 | 24 | 97 |
| Elven Warrior Battalion | Helm's Deep | 2 | 2 | 0 | 93 |
| Knight Battalion | Emyn Arnen | 3 | 3 | 19 | 78 |
| Rohirrim Battalion | Helm's Deep | 2 | 2 | 0 | 77 |
| Knight Battalion | Emyn Arnen | 3 | 3 | 29 | 72 |
| Yeoman Archer Battalion | Helm's Deep | 2 | 2 | 0 | 64 |
| Rohirrim Archer Battalion | Wold | 3 | 3 | 3 | 52 |
| Rohirrim Archer Battalion | Wold | 3 | 3 | 7 | 51 |
| Elven Warrior Battalion | Helm's Deep | 2 | 2 | 0 | 49 |
| Archer Battalion | Minas Tirith | 2 | 1 | 47 | 47 |
| Yeoman Archer Battalion | Wold | 2 | 3 | 0 | 45 |
| Rohirrim Archer Battalion | Wold | 3 | 3 | 2 | 43 |
| Archer Battalion | Minas Tirith | 2 | 1 | 42 | 42 |
| Elven Warrior Battalion | Helm's Deep | 2 | 2 | 6 | 41 |
| Archer Battalion | Minas Tirith | 2 | 1 | 35 | 35 |
| Archer Battalion | Minas Tirith | 2 | 1 | 32 | 32 |
| Archer Battalion | Minas Tirith | 2 | 1 | 31 | 31 |
| Archer Battalion | Minas Tirith | 2 | 1 | 19 | 19 |
| Yeoman Archer Battalion | Helm's Deep | 2 | 2 | 1 | 17 |
| Archer Battalion | Minas Tirith | 2 | 1 | 16 | 16 |
| Archer Battalion | Minas Tirith | 2 | 1 | 15 | 15 |
| Yeoman Archer Battalion | Wold | 2 | 3 | 1 | 12 |
| Yeoman Archer Battalion | Helm's Deep | 2 | 2 | 2 | 12 |
| Archer Battalion | Minas Tirith | 2 | 1 | 8 | 8 |
| Yeoman Archer Battalion | Wold | 2 | 3 | 0 | 8 |
| Elven Warrior Battle Line Battalion | Minas Tirith | 3 | 1 | 6 | 6 |
| Yeoman Archer Battalion | Wold | 2 | 3 | 2 | 5 |
| Yeoman Archer Battalion | Helm's Deep | 2 | 2 | 0 | 3 |
| Archer Battalion | Minas Tirith | 2 | 1 | 1 | 1 |
| Yeoman Archer Battalion | Wold | 2 | 3 | 0 | 1 |
| Peasant Battalion | Helm's Deep | 2 | 2 | 0 | 0 |
Objectives - Level any Hero to rank 8. I managed to level up a few other heroes during the battle as well as achieve a few personal objectives such as keep the gate intact & survive with full set of troops before Rohirrim & Dead Army arrive. Just before I destroyed the last 2 Orc pits in the enemy camps I checked the ranking progress bars of all my heroes & noticed some were close to upgrading. I then kept all troops but these in the background & attacked all Orcs spawned from these pits for a few minutes until the kills too the heroes up to the next level. When ready destroy last structures & win battle.
Prize for total victory -
+8 Power.
Total score
- 310,112 - Total Victory.
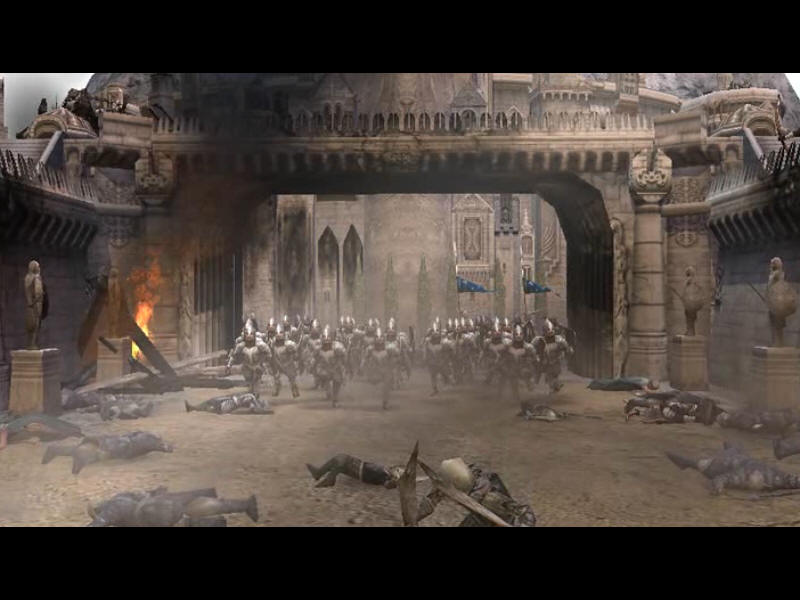
In theory I could head for the Black Gate to finish the campaign but with so much of Middle-Earth still to be defended I decided to clear out enemies from the rest of the land before heading for Mordor. Should give me a chance to upgrade all my heroes & Powers on the way as well as a decent resources multiplier factor. Decided to go with Rohan heroes by sending them west to Druadan Forest for +10% Resources & +1 Power. Army consists of Eomer, Eowyn, Theoden, Merry, 95 Archers, 5 Peasants & 50 Rohirrim. Alternatively I could have chosen Cair Andros for +20 Command & +2 Power, Dead Marshes for +1 Power, Dagorlad for +3 Power, Central Ithilien for +20% Resources & +2 Power or Southern Ithilien for +20% Resources.