Battle For
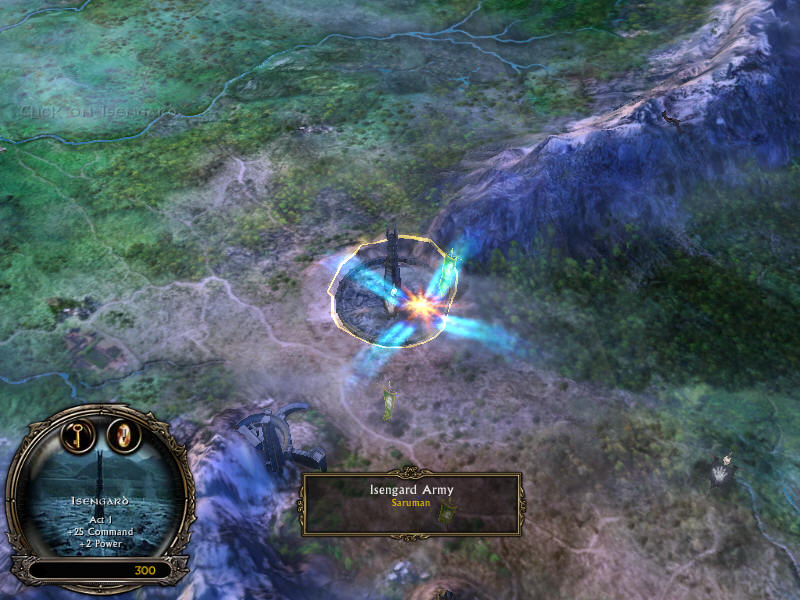
Middle-Earth Evil Campaign Map 1, Act 1 - Isengard
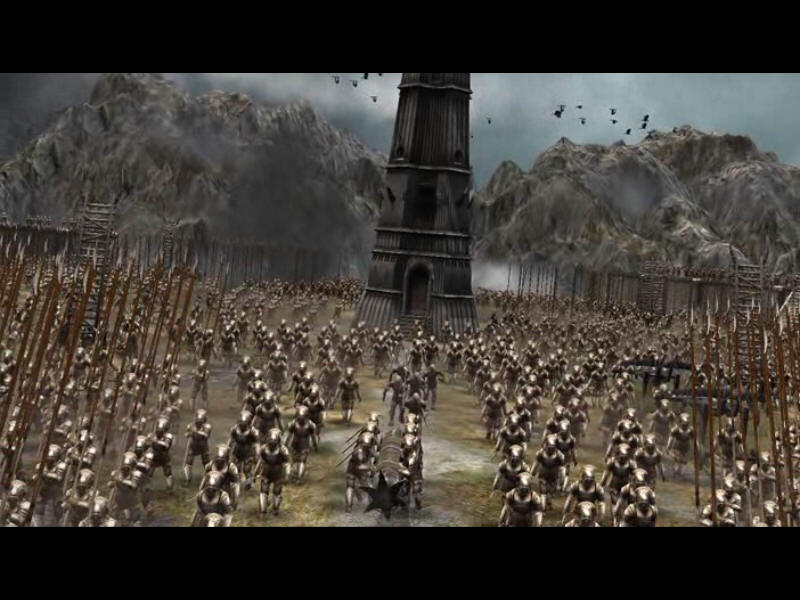
Starts with Saruman, 2 battalions of fire crossbowmen & a few pike Uruks
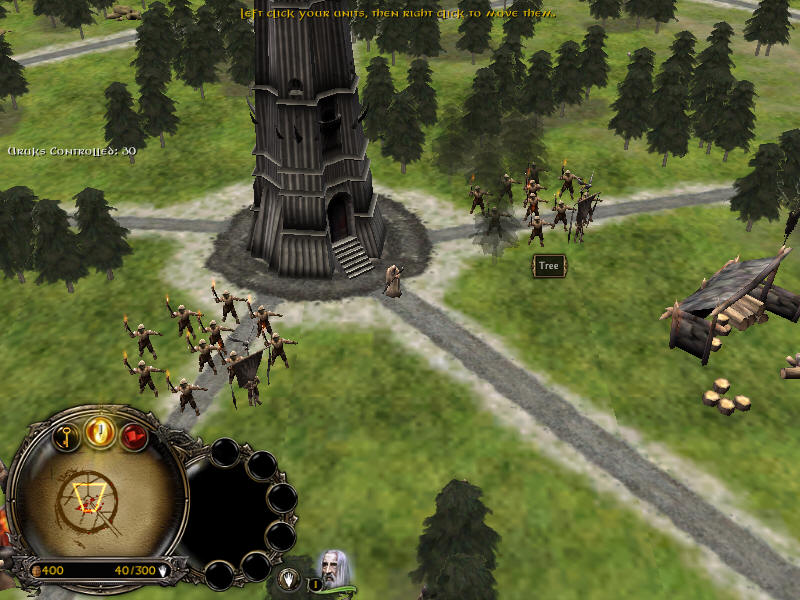
Don’t spend any powers
as you may need them for the devastation power in the next map. Palantir is of
no use with the small map. Build bases as they are
uncovered. Build a fair balance of Lumber mills as you will need to increase
resources quickly before the assaults start. First assault will be after a few
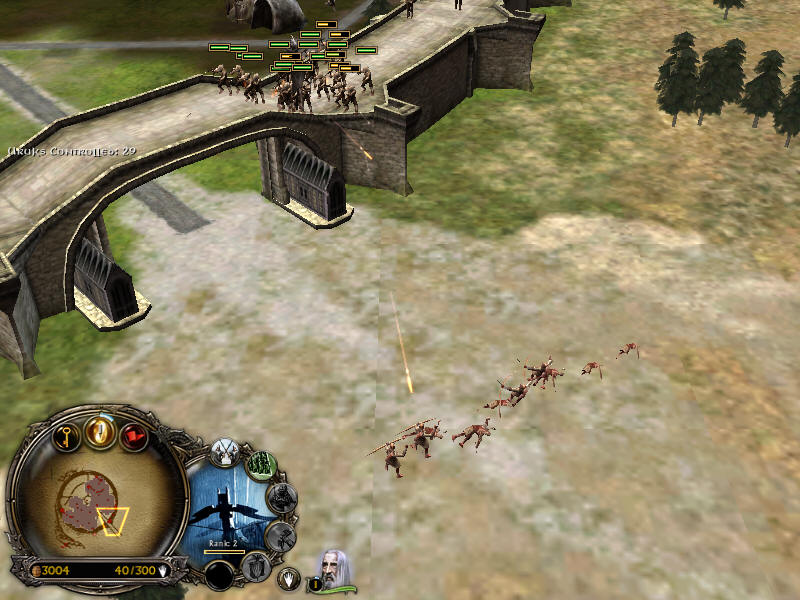
minutes. You will either get a Rohan scouting party of a few battalions of
Yeomen Archers. Both are easy to clear so wipe them out & keep spawning Uruks.

Send someone to build another lumber camp
outside the walls to take advantage of the trees there & build resources
quicker.
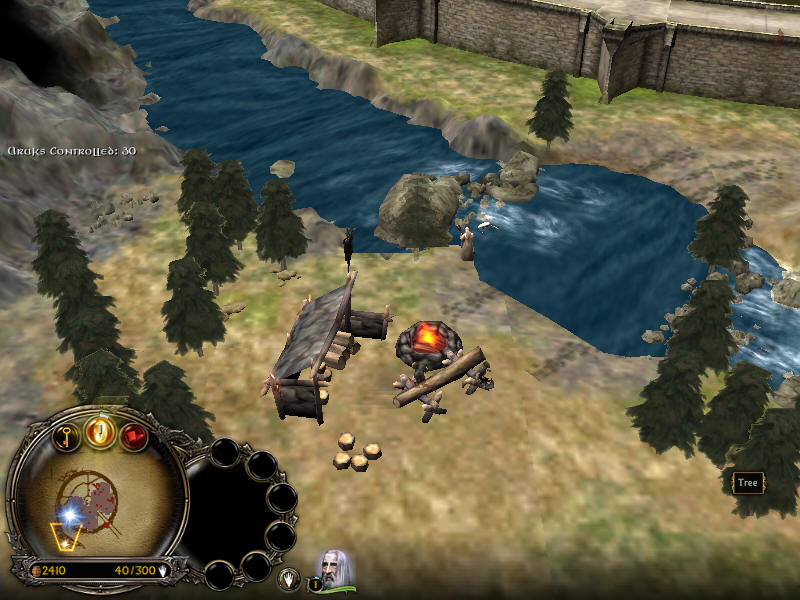
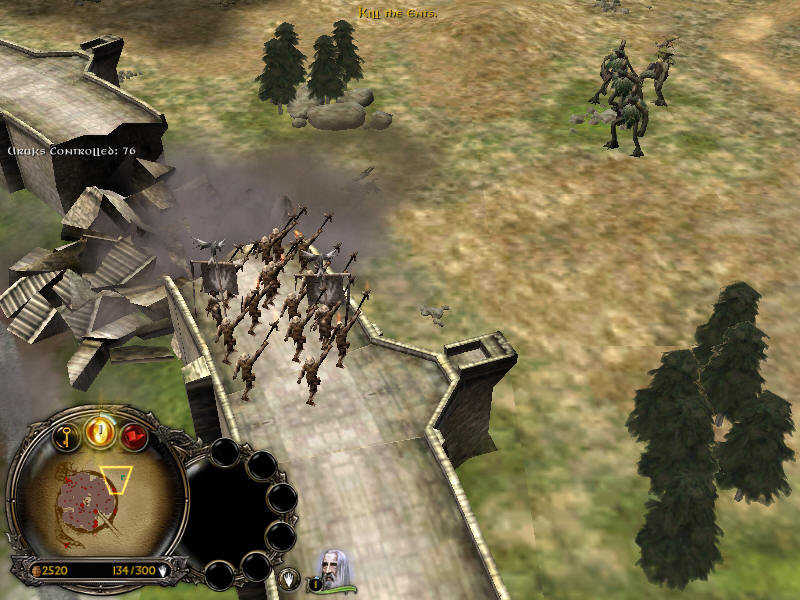
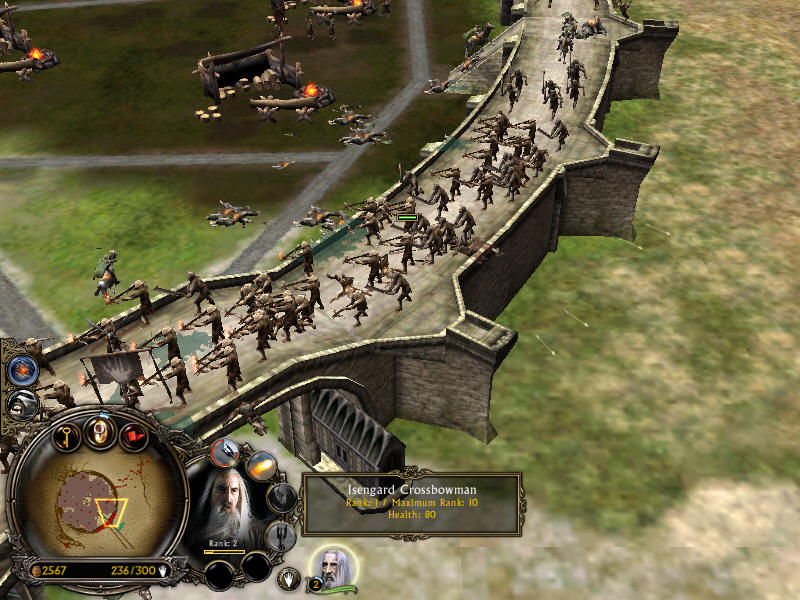
Soon after you build
this camp, the Ents will start attacking & the view screen will pan to the
action. You should have placed your original fire archers Uruks on top of the
walls before this ready for the Ent assault. Be very careful where you place
them as the Ents will demolish a part of your wall promptly. If you get the
location right you’ll manage to burn most of the Ents without falling to the
ground before the wall collapses.
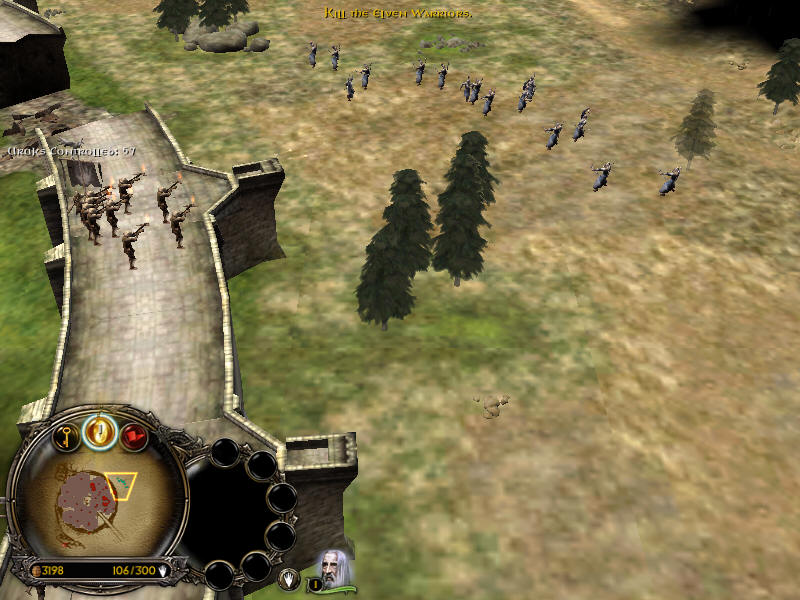
As soon as you’ve destroyed the Ents, the Elves appear so be very careful not to send out labourers to cut down Fangorn as they’ll get wiped out by the Elves. Best to keep them away until you’ve cleared the Elves with all the Uruks you’ve managed to build.
Another assault of Ents will follow that you’ll need as many fire crossbow Uruks to finish off
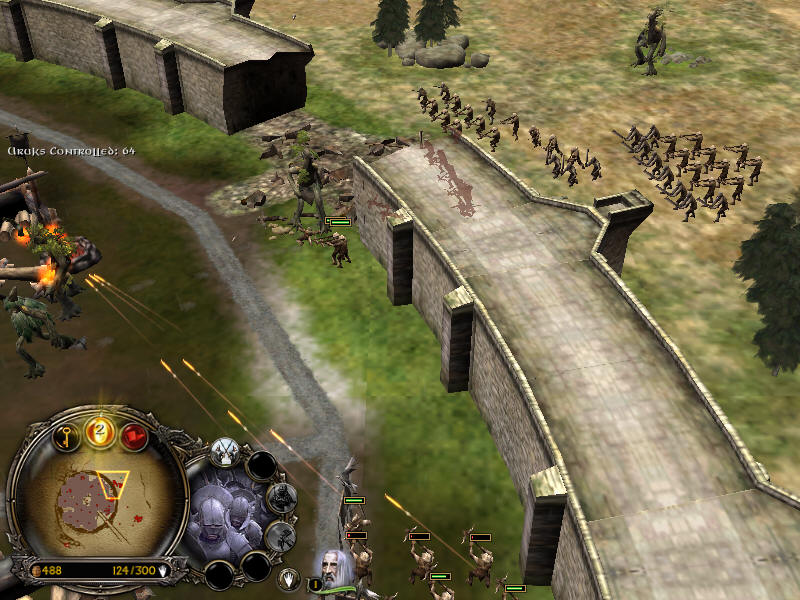
When you’ve killed this wave of Ents things you can take a breather & build the remaining Uruks to reach the 100 target & a load of labourers to send of to Fangorn to gather resources. Be sure to balance the labourers home camps to ensure there’s not much of a queue at each camp. To do this pick the labourer as he’s returning with timber & hover the curser over a camp. You will see the Garrison icon displayed so select the camp & let the labourer carry on. Some labourers will need to be given a poke at times as they are lazy sods & need to be told what to do sometimes.. If any of them are hanging around scratching their backs with their axes simply select them & send them off to the forest. Look for the swinging axe icon when you hover the curser near a tree whilst selecting a labourer.
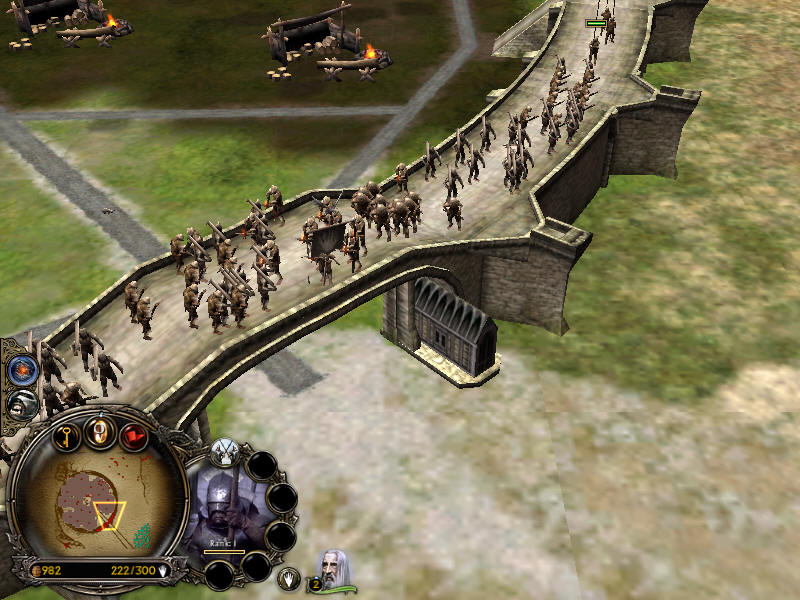
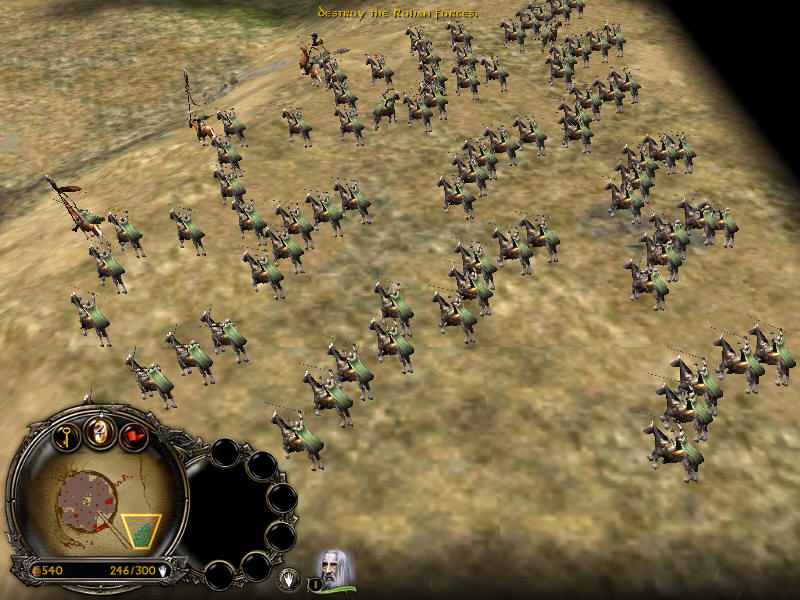
The final assault of the Rohirrim arrives after a few minutes by which time you should have your full quota of Uruks. All waiting over the gate to Isengard. I found it best to produce archers only & crown them all over the gate. This way none of the ca be trampled by the initial charge & when the horses to get up on the walls there is a huge concentration of Uruk crossbows to clears away those that weren’t picked off as they were charging towards the walls.
You should only be left with a few remaining Rohorrim that you can pick off from the walls to finish the mission. Ensure that you’ve spawned any Uruks that have fallen before killing the last Rohirrim to ensure you end with the 100 Uruks to get the bonus.
| Battle Statistics | ||||||
| Units Trained | Buildings Constructed | Resources Collected | Power Points Earned | Enemy Units Destroyed | Enemy Buildings Destroyed | Time Bonus |
| 398 x 1 | 18 x 10 | 13,119 x 1 | 1 x 1,000 | 120 x 2 | 0 x 10 | 760 |
| Total Score = 28,402 - Total Victory | ||||||
| Troop ratings after battle | |||||
| Anti-Hero Name | First Trained | Unit Current Level | Missions Completed | Mission Enemies Vanquished | Campaign Enemies Vanquished |
| Saruman | Isengard | 2 | 1 | 27 | 27 |
| Uruk-hai - Uruk Crossbow Horde | Isengard | 2 | 1 | 18 | 18 |
| Uruk-hai - Uruk Crossbow Horde | Isengard | 2 | 1 | 13 | 13 |
| Uruk-hai - Uruk Crossbow Horde | Isengard | 1 | 1 | 9 | 9 |
| Uruk-hai - Uruk Crossbow Horde | Isengard | 1 | 1 | 8 | 8 |
| Uruk-hai - Uruk Crossbow Horde | Isengard | 1 | 1 | 7 | 7 |
| Uruk-hai - Uruk Crossbow Horde | Isengard | 1 | 1 | 7 | 7 |
| Uruk-hai - Uruk Crossbow Horde | Isengard | 1 | 1 | 7 | 7 |
| Uruk-hai - Uruk Crossbow Horde | Isengard | 1 | 1 | 5 | 5 |
| Uruk Crossbow Horde | Isengard | 1 | 1 | 5 | 5 |
| Uruk-hai - Uruk Crossbow Horde | Isengard | 1 | 1 | 0 | 0 |
| Uruk-hai - Uruk Crossbow Horde | Isengard | 1 | 1 | 0 | 0 |
| Uruk-hai - Uruk Crossbow Horde | Isengard | 1 | 1 | 0 | 0 |
| Uruk-hai - Uruk Crossbow Horde | Isengard | 1 | 1 | 0 | 0 |
| Uruk-hai - Uruk Crossbow Horde | Isengard | 1 | 1 | 0 | 0 |
Objectives - Chop down the trees in Isengard to uncover Foundations for building, Build 100 Uruks, Build 16 buildings. Level up Saruman to Rank 2, Finish the level with 100 Uruks, Purchase a power.
Prize for total victory -
+25 Command & +2 Power.
Total score
- 28,402 - Total Victory.